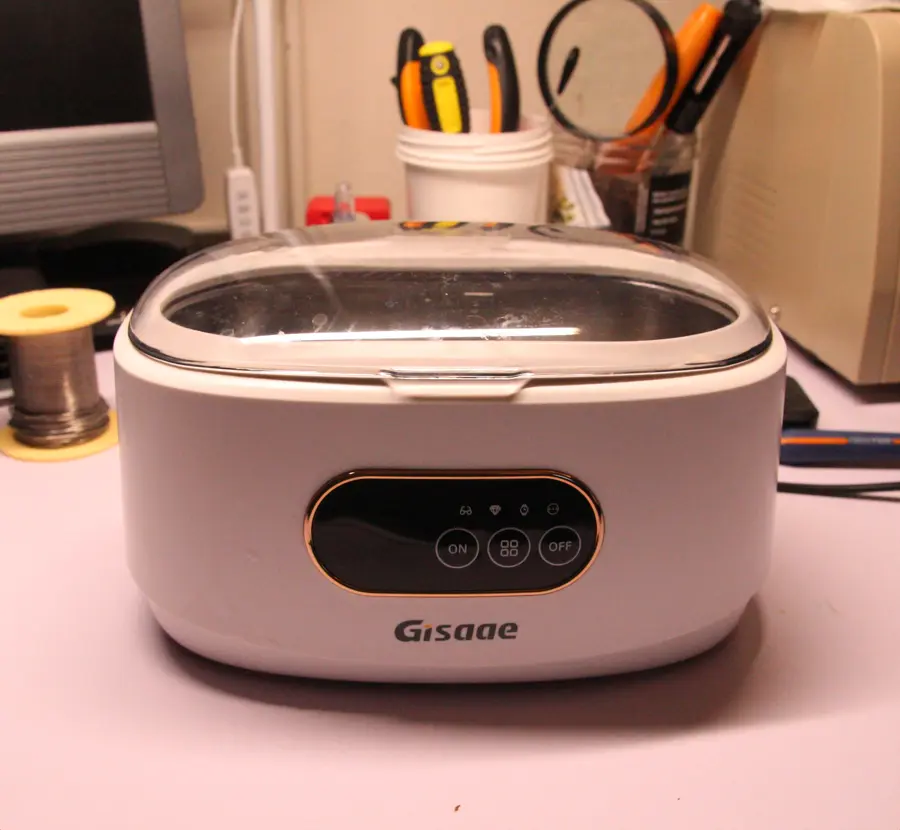
Repairing the Skymen ZX-810 Ultrasonic Cleaner
 I bought this ultrasonic cleaner on May 4, 2024 (I checked my Amazon purchase history). Unfortunately, after just one year, it decided to give up, showing no signs of life.
As I've shown in previous posts (check out the restoration of the Casio VL-5 and the Savage Ghibli LD 224 controller), this tool is incredibly useful for my restoration projects because it allows for very thorough cleaning of any object that fits inside.
My original intention was just to clean my glasses with it.
Even though it's not overly expensive, I'd rather fix it than just replace it and contribute to throwaway culture.
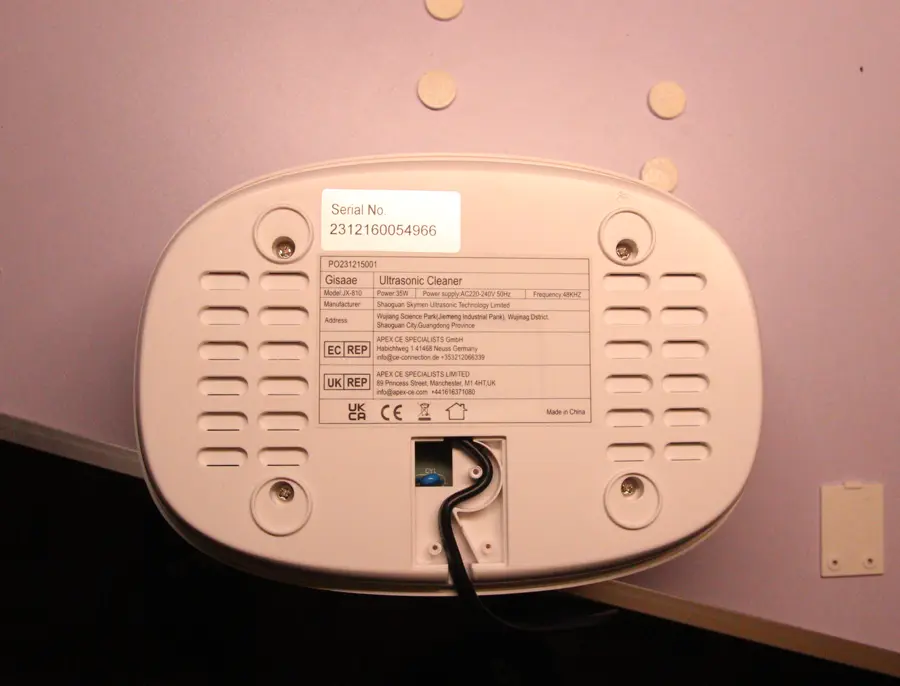
Disassembly is quite straightforward: just remove the rubber feet underneath to expose all the screws, then unscrew them.
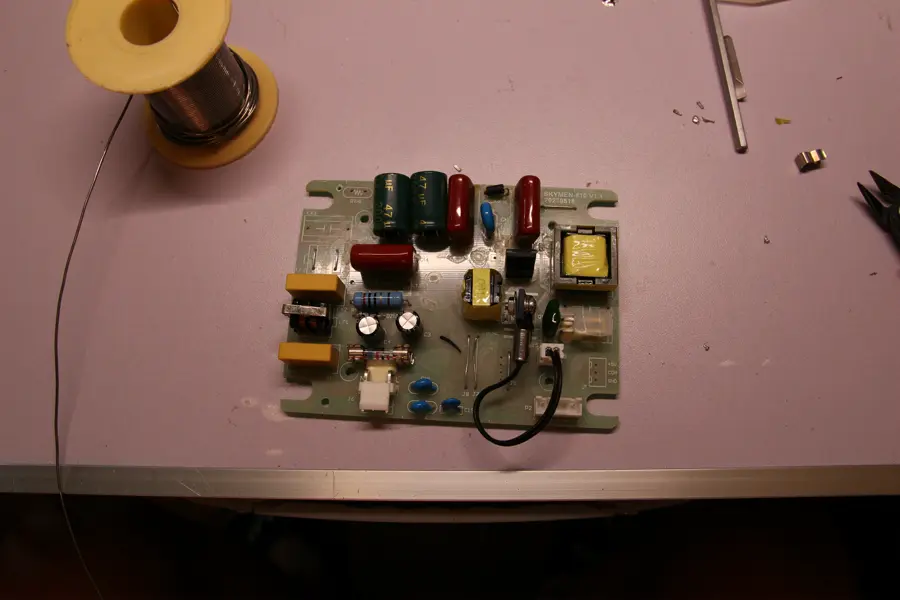
Once opened, you immediately get access to the PCB.
I must say, the construction seems pretty solid; every component is connected with easily removable connectors.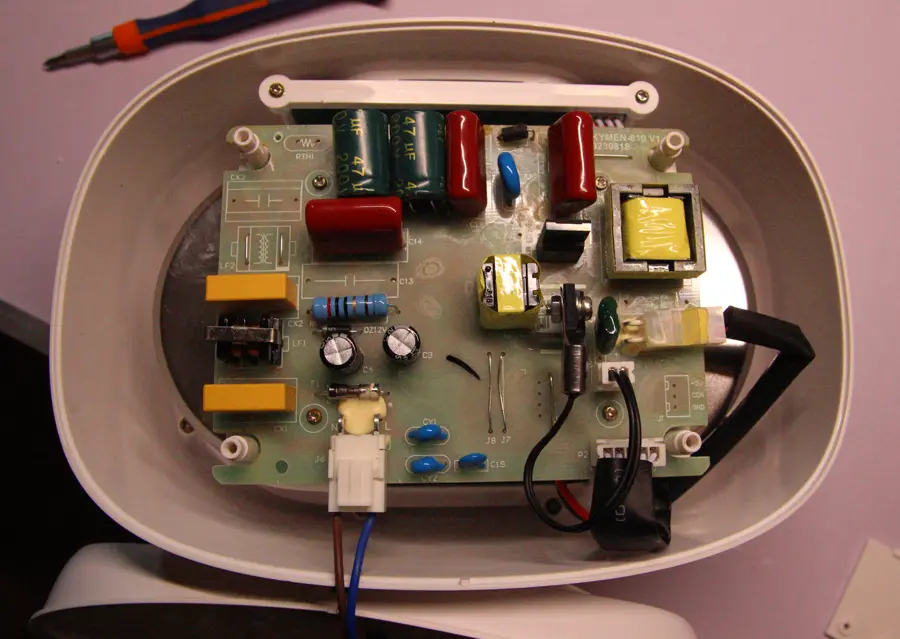
Although the branding on mine is Gisaae, the true manufacturer of this cleaner is Skymen, as indicated on the upper right of the PCB: SKYMEN-810 V1.1
Gisaae doesn’t even have a website; it’s just one of many Chinese rebrands you find on Amazon, Aliexpress, and Temu.
In fact, on the Skymen website, these cleaners are available for wholesale purchase, with a minimum order of 200 units.
These are then rebranded and sold to the public on various online stores, with product codes that can vary. For example, mine is marked JX-810, but I’ve also seen it sold under the code JP-810 (with different brands).
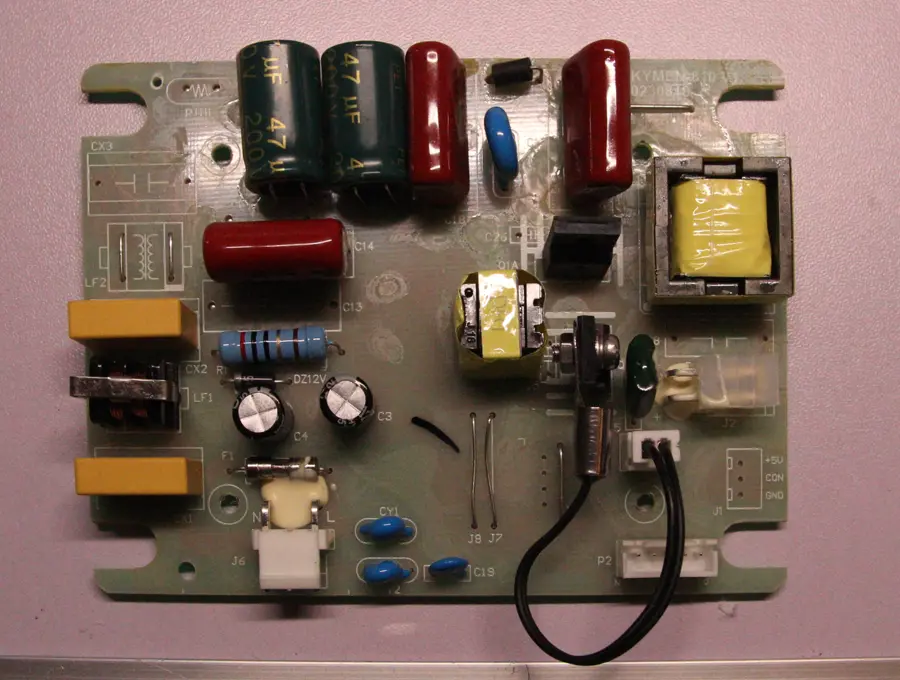
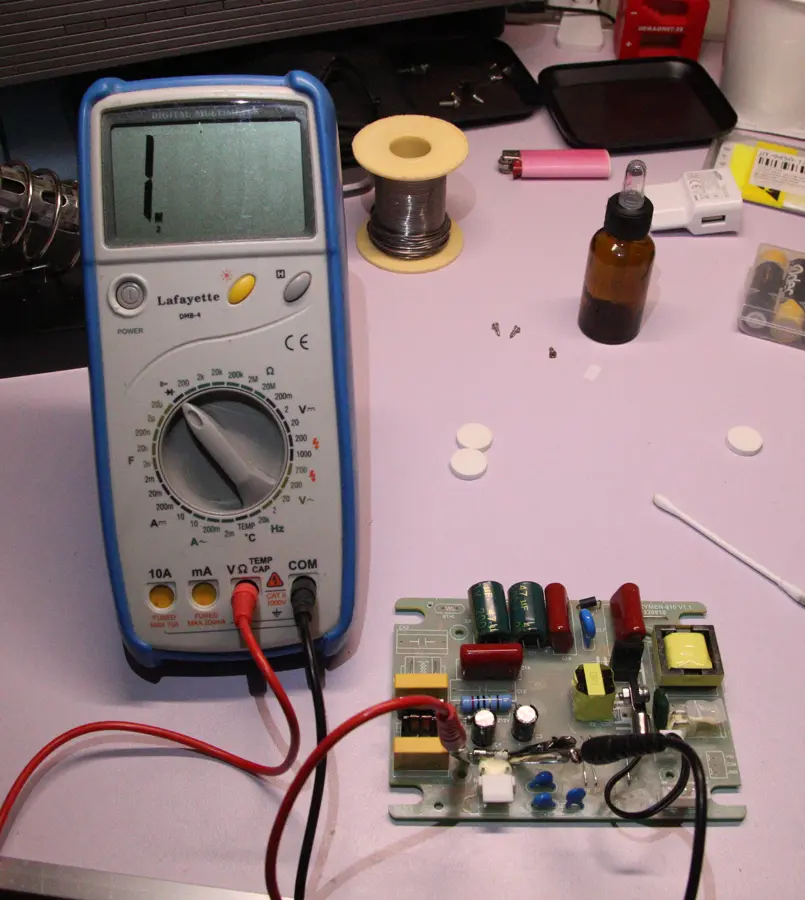 For safety, I first check that the two 200V electrolytic capacitors are discharged. Then, I proceed to check the fuse, which is, as expected, blown.
In cases like this, simply replacing the fuse usually isn't enough; you'll need to figure out why it blew in the first place.
I suspect there's a short circuit somewhere.
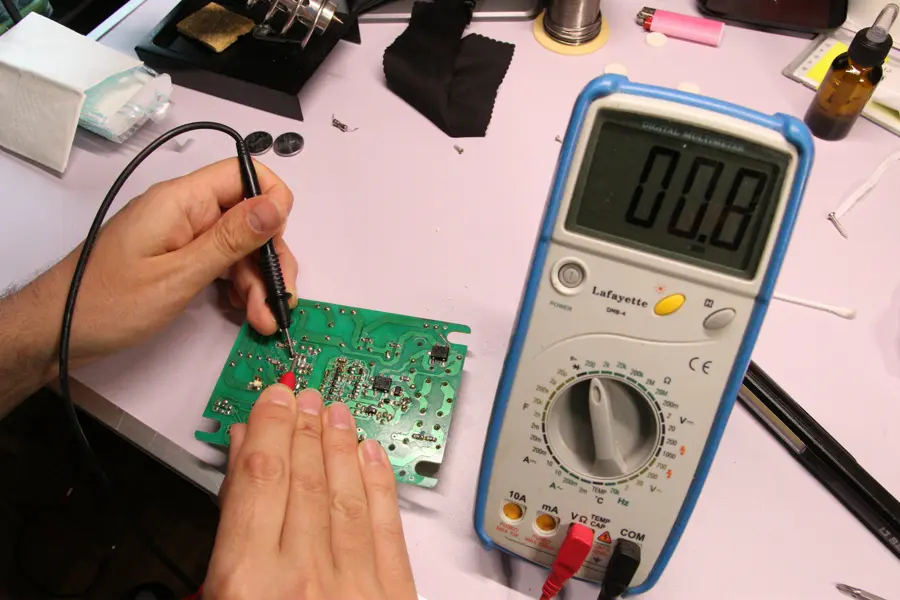
I start inspecting with my multimeter in ohmmeter mode.
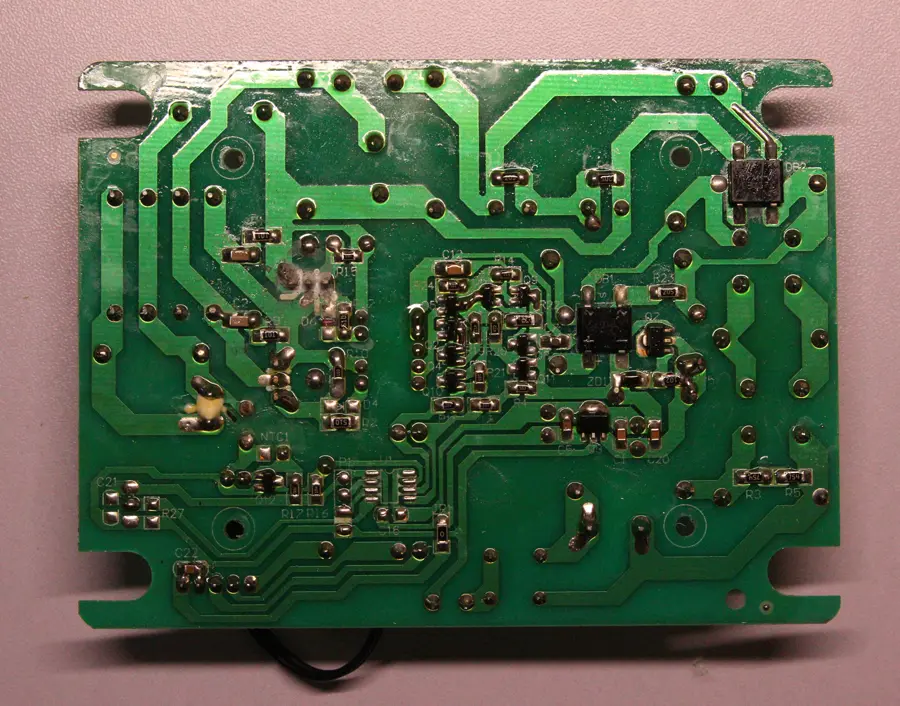
It’s not super easy because the entire bottom side of the PCB is coated with a protective insulating varnish.
It makes sense for it to be there, as it protects the circuit from the humidity that can build up inside, given that cleaning cycles involve filling the tank with water.
 The other transistor on the board seems fine.
Unfortunately, I can't find any suitable replacements among my spare components or old recovery boards, so I'm forced to order them online.
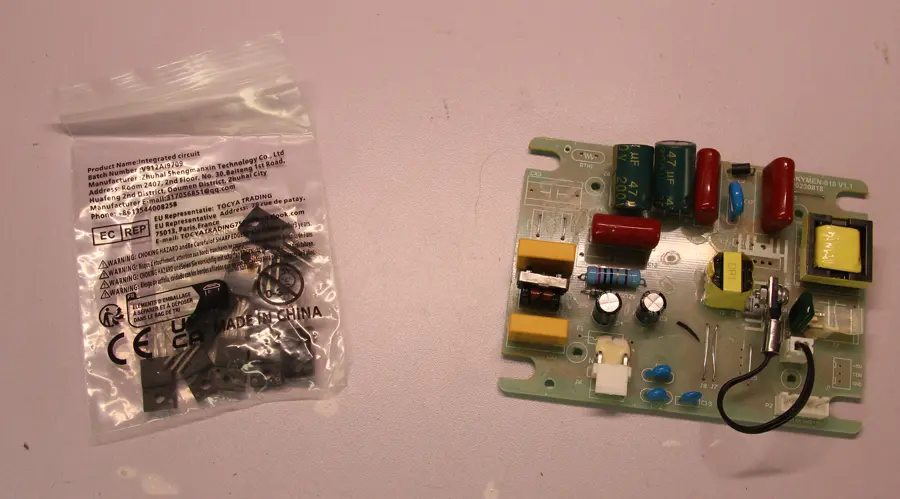
About a week later, they arrive on my desk.
I also need to install a new fuse. It’s a 1.2 Ampere time-delay fuse (T1.2A).
I have quite a few old recovery boards at home, and I manage to find a working fuse and a fuse holder from one of them.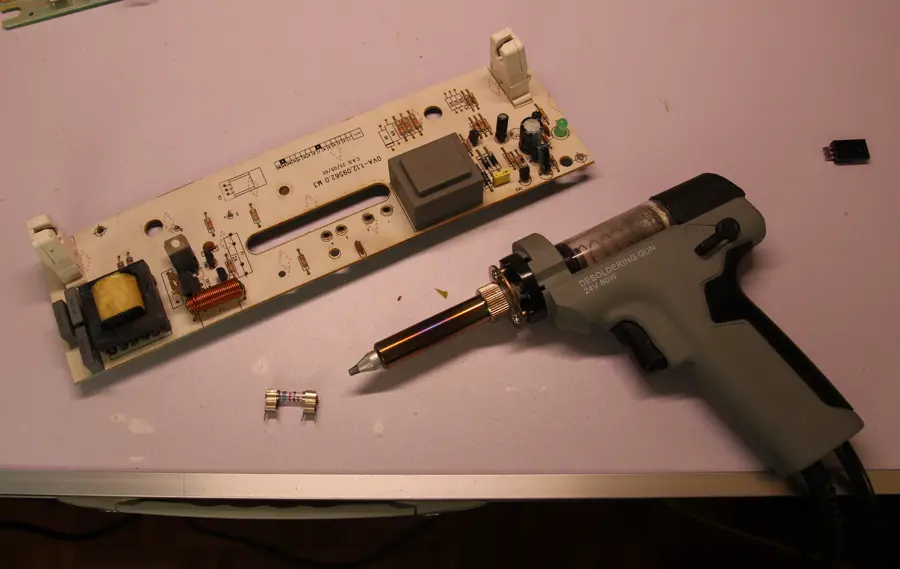
 Transistor and fuse replaced!
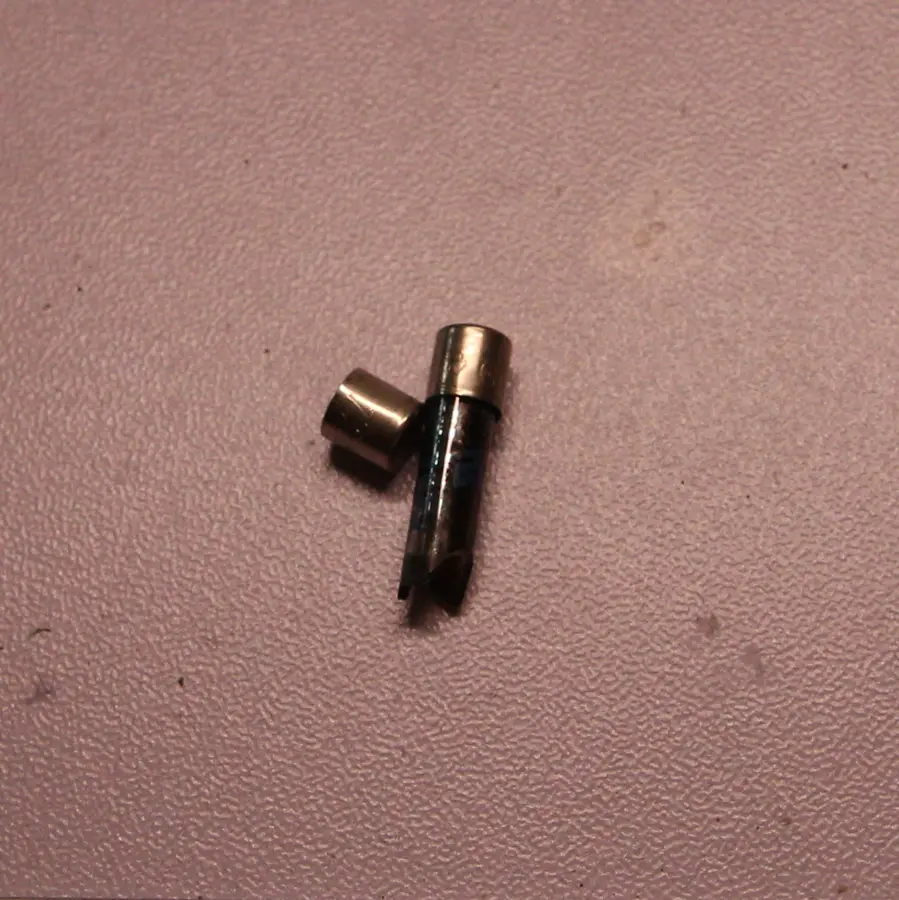 Finally, the moment of truth.
Unfortunately, the cleaner didn't turn on. In fact, it popped, and the fuse literally exploded.
After a careful analysis, I see that the second transistor also broke, and this definitely happened after the last power-up.
Most importantly, I think I’ve discovered the real culprit: one of the two bridge rectifiers.
Its terminals are shorted, and I hadn’t noticed it before!
The way it’s shorted is unusual: one of the ~ terminals is shorted to the +, and the other ~ terminal is shorted to the -, meaning there was AC current, not DC, on the output terminals.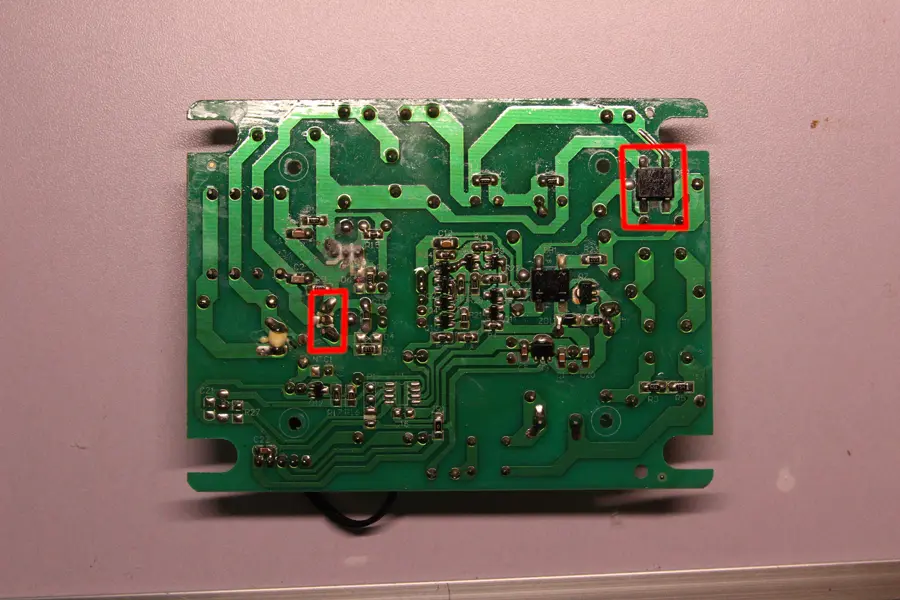
First, I replace the other 4N65 transistor, then proceed to desolder the bridge rectifier.
Due to the thick layer of varnish, it wasn’t easy, as the component was not only soldered to the PCB but also glued by the varnish itself.
I had to insist a bit with the hot air station, and unfortunately, the job wasn’t perfectly clean in the end. However, apart from some blackening on the PCB, I don’t think I caused any damage.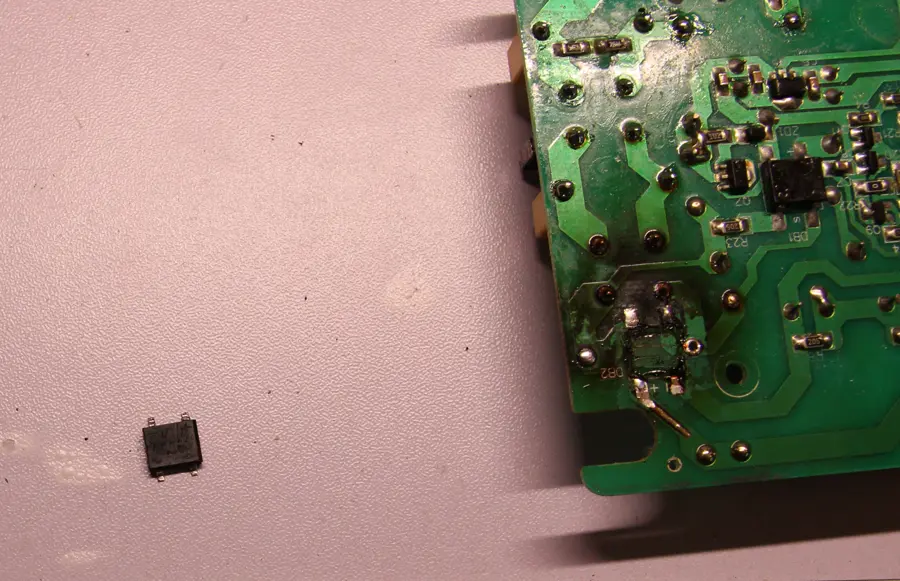
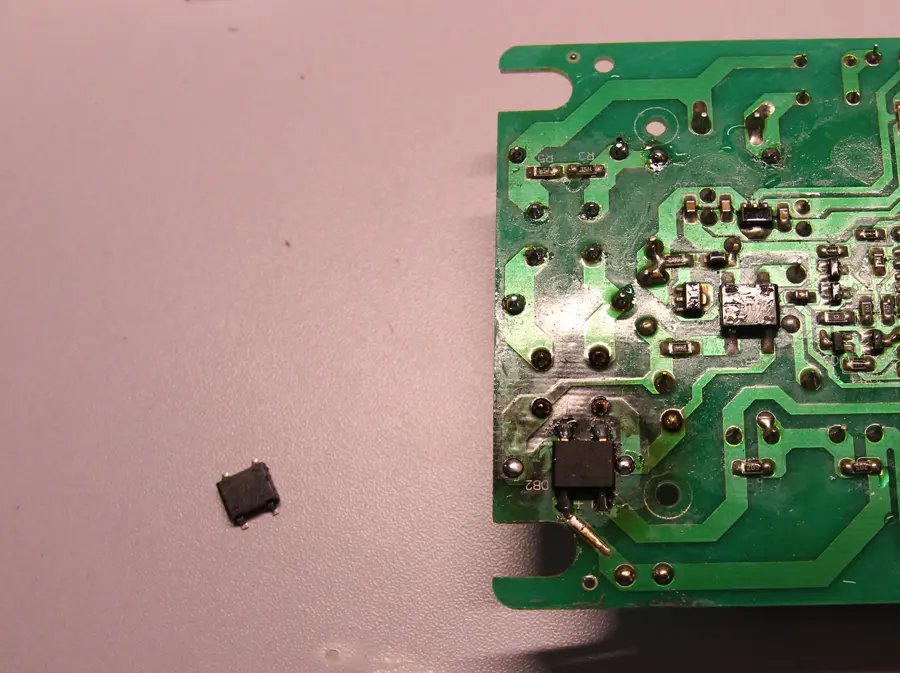 The "new" bridge rectifier comes from another recovery board.
I proceed to solder it.
Quick test. IT WORKS!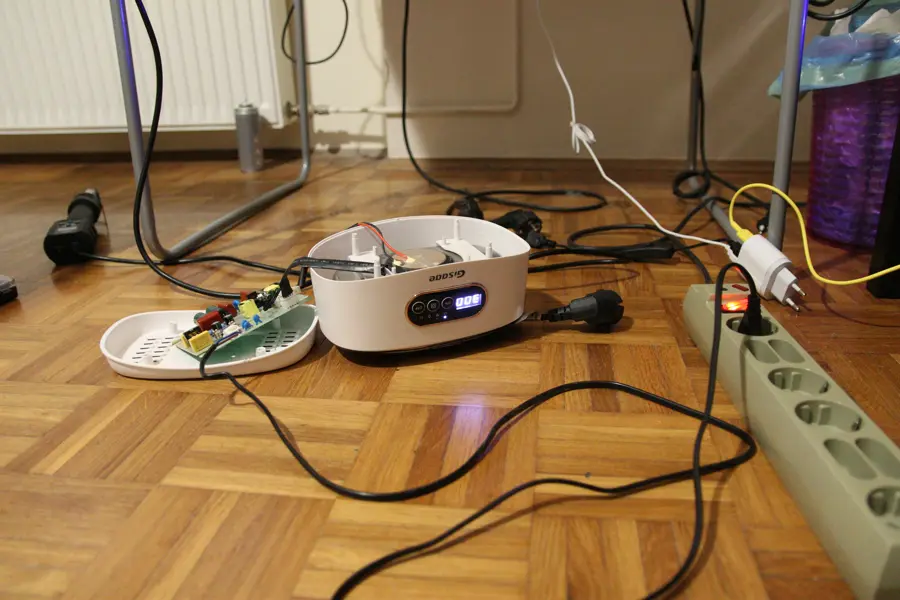
 To complete the job, I decided to remove the old insulating varnish with some solvent and apply a new coat.
Unfortunately, I couldn't find anything suitable at local hardware stores, so I bought this V-66 insulating varnish on Amazon; it's always good to have on hand for later.
I applied two coats of varnish. It dries quite quickly.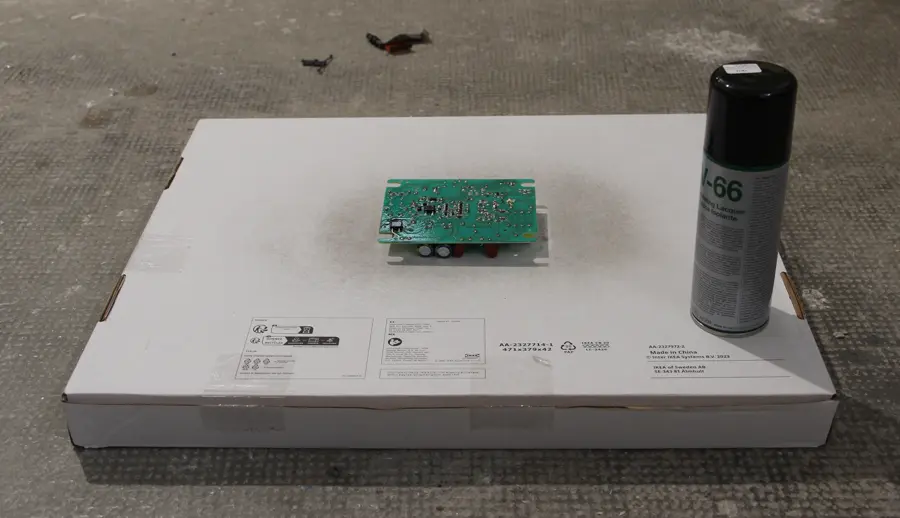
I’m quite satisfied with the final result. I managed to partially recover the blackened area, and ultimately, it doesn’t affect the final outcome.
A test with the multimeter confirms that the varnish insulates the PCB quite well.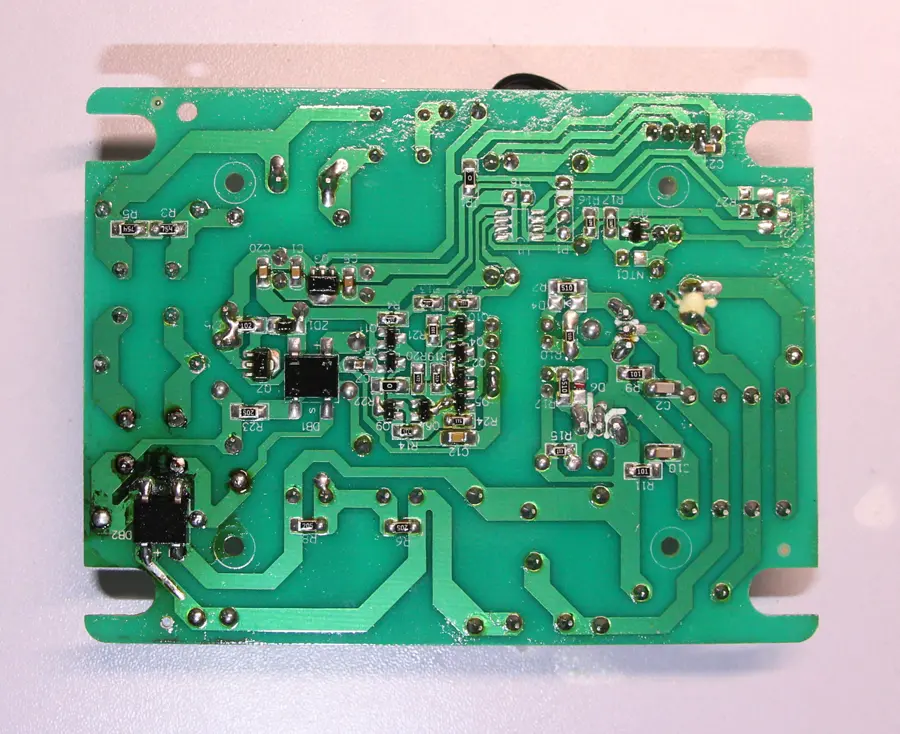
I reassemble everything and do a final test.
Everything works just like before!
I hope it serves me well for a few more years.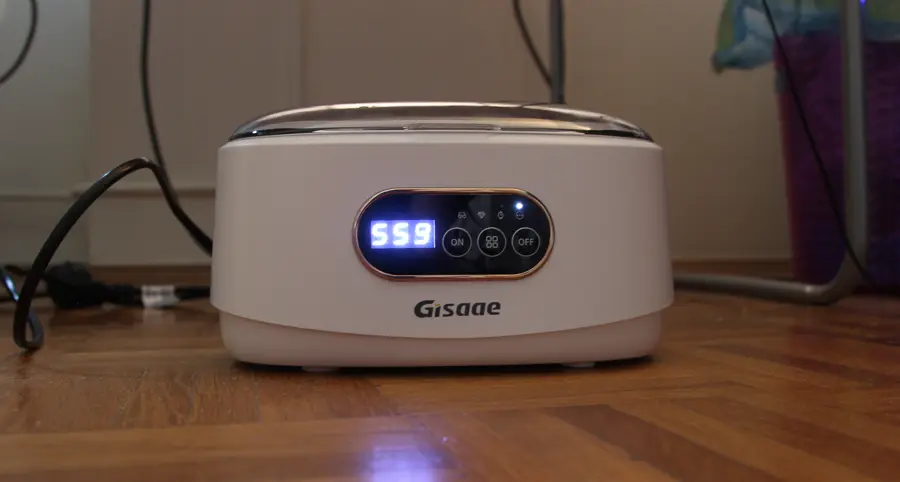
It has been submitted and will be reviewed before being published.